

Porch Makeover Hack: Hanging Old Shutters for Style + Shade
Ever stumble on a set of old shutters and wonder what they could become?
While revisiting a curbside dive for more finds for our home office, my wife pointed to a stack of weathered shutters and said, “These would make a great DIY privacy screen for the porch.”
Two Lowe’s trips later, we had a renter-friendly partition that completely transformed our wraparound porch into our favorite hangout spot.
The best part? It will only leave behind four nail holes—easy to patch up when it’s time to move on, but full of charm, shade, and character in the meantime.
Here’s how we gave those shutters a second life.
🎥 Watch the full process on YouTube below:
What We Used
- 4 salvaged wood shutters (matching height helps, but mix-and-match works too)
- Heavy-duty chain (adjustable or cut to size)
- Be sure to check for weight, we are aiming for a minimum of 35 lbs per shutter if stacking.
- Eyelet screws
- Screw hooks
- Optional:
- Paint, stain, or clear sealant
- Drill
The How-To
1. Find Your Shutters
We scored ours curbside, but any thrifted, found, or attic-stashed shutters will do.
2. Clean + Prep
Wipe them down with a damp cloth to remove dirt and cobwebs. If there's peeling paint or caked-on grime, give it a light sanding. Keep some of that character though—patina tells the story of where these shutters have been.
3. Finish It (or Don’t)
Paint them bold. Stain them soft. Or seal the raw wood with a clear outdoor poly if you’re trying to preserve the original finish while protecting it from the elements. Just be sure to let them fully dry before hanging.
4. Measure Your Layout
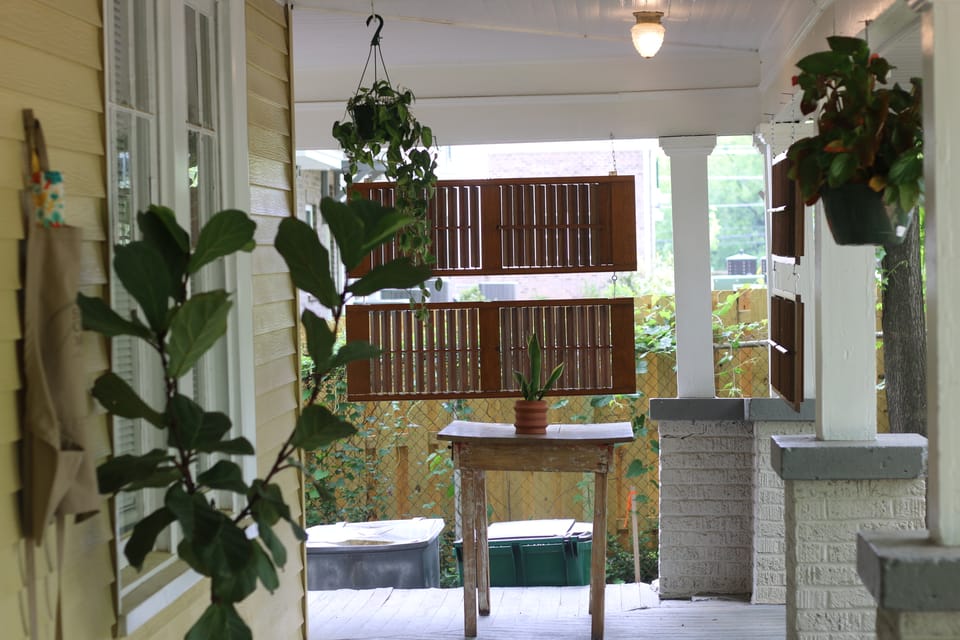
We chose to hang our shutters slightly off-center between the porch beams to “enclose” a cozy corner of the patio. If you’re lucky enough to find two full sets, it helps frame the space with balance—especially as your outdoor style evolves.
I’ll be real—I’m usually the eyeball-it type. But it made a big difference to level that first shutter properly. Don’t skip that step, especially if your porch has a slope.
Pro Tip: Pre-drill your holes for all the eye bolt screws and hooks. It’ll save you time (and wrist strength). Use a drill bit just a touch smaller than the screw’s diameter so it grabs securely. Do better than I did—measure twice, drill once.
How We Hung It
We laid the shutters flat to work easily. Since ours had hinges already attached, I threaded the chain right through the hinge holes—simple and secure.
No hinges? No problem. You can add eye bolt screws rated for 35 lbs or more to handle the weight.
Once the chain is attached, use a nail or screw hook to hang them from your porch ceiling or beam. Screw hooks give you flexibility if you ever want to take them down or shift them around.
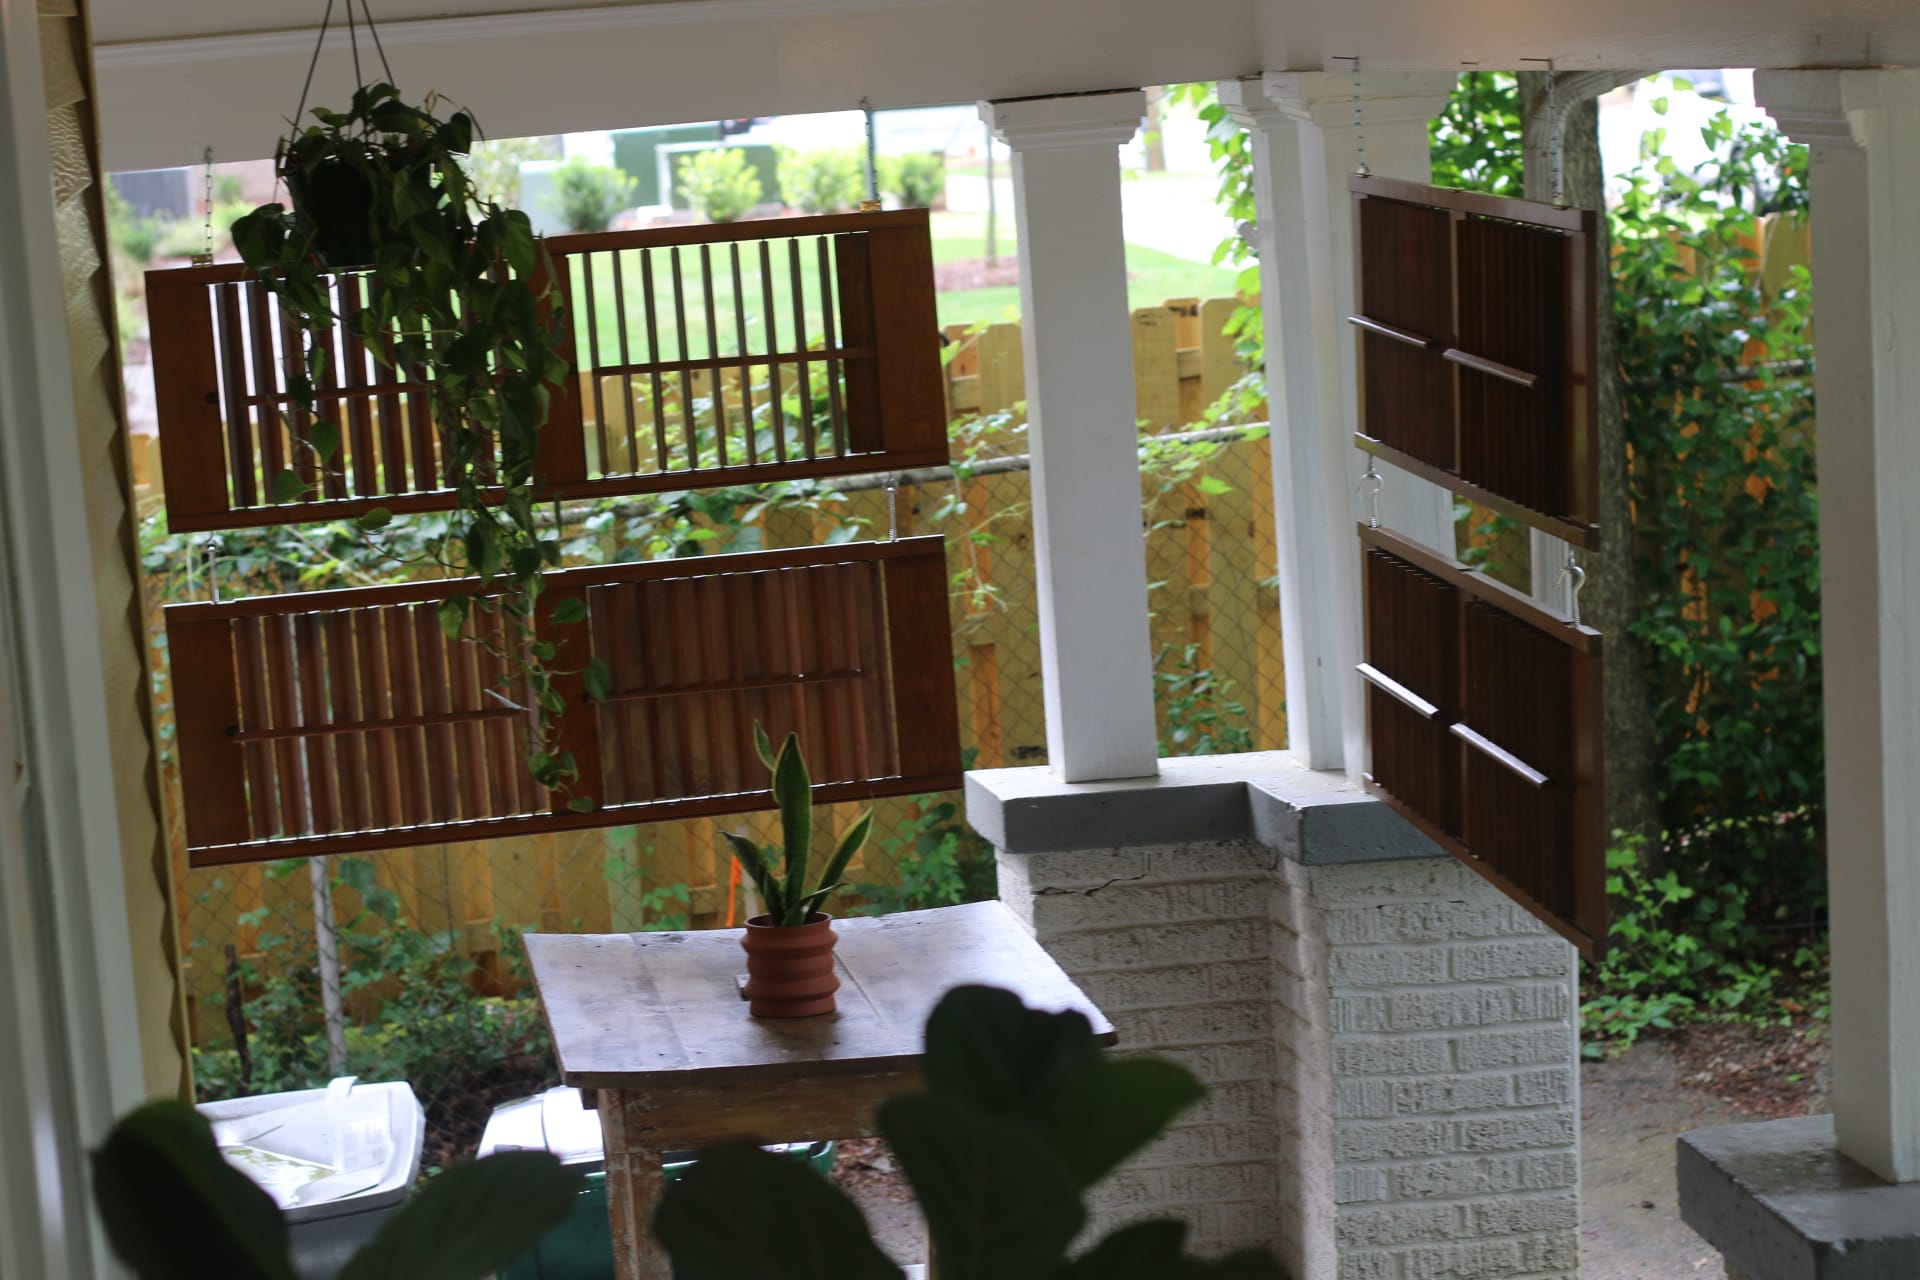
This little DIY added privacy, shade, and a second life to these old shutters to our porch.
And like everything at RUMMAĀGE—it started with something found.